


Installing a trailer wiring light socket part might seem like a daunting task, but with the right guidance and a bit of know - how, it can be a manageable DIY project. As a supplier of Trailer Wiring Parts, I've seen firsthand how important it is for trailer owners to have a properly functioning wiring system. In this blog, I'll walk you through the steps of installing a trailer wiring light socket part.
Step 1: Gather Your Tools and Materials
Before you start the installation process, you need to make sure you have all the necessary tools and materials. Here's a list of what you'll need:
- A trailer wiring light socket part. We offer a wide range of socket parts that are compatible with different types of trailers. For example, the 08L91 SHJ 100A is a high - quality option that many of our customers find reliable.
- Wire cutters and strippers. These tools are essential for cutting and preparing the wires.
- Electrical tape. It helps to insulate the connections and prevent short circuits.
- A drill and appropriate drill bits if you need to make holes for mounting the socket.
- A multimeter to test the electrical connections.
Step 2: Prepare the Trailer
First, you need to ensure that the trailer is in a safe and stable position. Park it on a level surface and engage the parking brake. If the trailer has a battery, disconnect it to avoid any electrical shocks during the installation process.
Next, locate the area where you want to install the light socket. This is usually near the rear of the trailer, close to the existing wiring harness. You may need to remove some panels or covers to access the wiring.
Step 3: Identify the Wires
Most trailer wiring systems follow a standard color - coding system. Here's a general guide:
- White wire: This is the ground wire. It is usually connected to the trailer frame.
- Brown wire: This is for the running lights.
- Yellow wire: It is for the left - turn signal and brake light.
- Green wire: This is for the right - turn signal and brake light.
Use the multimeter to test the wires and confirm their functions. This step is crucial to ensure that you connect the socket correctly.
Step 4: Install the Socket
Once you've identified the wires, it's time to install the socket. If the socket comes with a mounting bracket, use the drill to make holes in the appropriate location on the trailer. Secure the socket to the trailer using the provided screws or bolts.
Step 5: Connect the Wires
Now, it's time to connect the wires to the socket. Start by stripping about 1/2 inch of insulation from the ends of the wires. Match the colors of the wires on the socket with the corresponding wires in the trailer's wiring harness.
For example, connect the brown wire from the socket to the brown wire in the harness for the running lights. Use wire connectors to join the wires together. Make sure the connections are tight and secure.
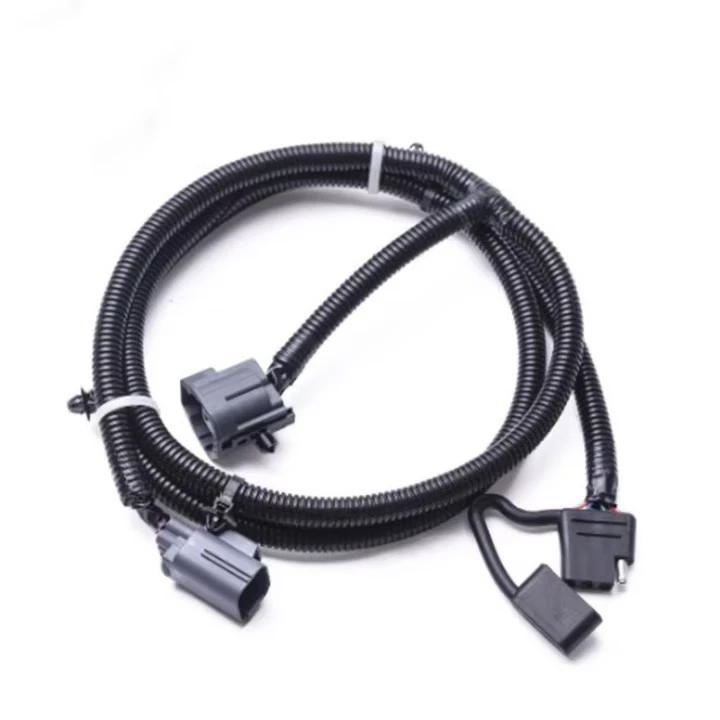

After connecting all the wires, wrap the connections with electrical tape to insulate them. This helps to prevent moisture and corrosion from affecting the electrical connections.
Step 6: Test the Lights
Once you've completed the wiring connections, reconnect the trailer's battery. Use the multimeter to test the electrical connections at the socket. Turn on the trailer lights and check if all the lights are working properly.
If any of the lights are not working, double - check the wiring connections. It's possible that a wire is not connected correctly or there is a short circuit.
Step 7: Secure the Wiring
After testing the lights and ensuring they are working, secure the wiring to the trailer frame using cable ties or clips. This helps to prevent the wires from getting tangled or damaged while the trailer is in use.
Additional Tips and Considerations
- If you're not comfortable with electrical work, it's always a good idea to consult a professional. Electrical work can be dangerous, and a professional can ensure that the installation is done safely and correctly.
- We also offer other wiring harness options, such as the Etrailer Wiring Harness and the 16 Foot Trailer Wiring Harness. These harnesses can simplify the installation process and provide a more comprehensive wiring solution.
- Regularly inspect your trailer's wiring system for any signs of damage or wear. Over time, the wires can become frayed or corroded, which can lead to electrical problems.
In conclusion, installing a trailer wiring light socket part is a task that can be accomplished with the right tools and knowledge. By following these steps, you can ensure that your trailer's lighting system is functioning properly. If you have any questions or need further assistance with your trailer wiring parts, don't hesitate to reach out. We're here to help you find the best solutions for your trailer wiring needs. Whether you're a professional trailer mechanic or a DIY enthusiast, our team can provide you with the support and products you need. Contact us to discuss your requirements and start your trailer wiring project today.
References
- Trailer Wiring Installation Guides from Industry Standards
- Electrical Wiring Manuals for Trailers